counter

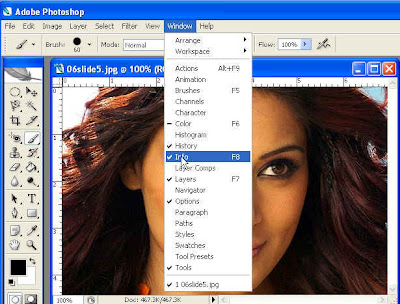
Step 3 : The info dialogue box opens. It's at the top.
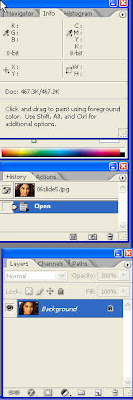
Here's a closer look at the dialogue box. Note the eyedropper next to 'G' and 'M'. We will use the eyes dropper.

Step 4 : Hover the curson over the yellowish part near the nose. (little black arrow). The cursor will act as the eyedropper. It will sample the values of the colors.

Step 5 : Note the 'R'. Read the values for 'G' and 'B'. The values for R = 58, G = 38 and B = 37. From this it can be seen that the value of R (or Red) is high in comparison to G (Green) and b (Blue). That has to be fixed.
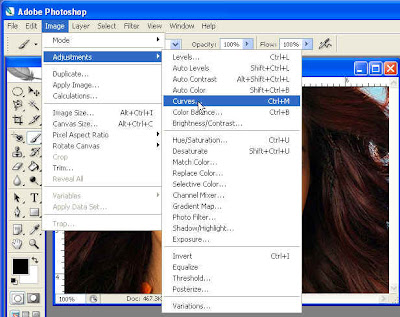
Step 5 : Go to Image>Adjustments>Curves
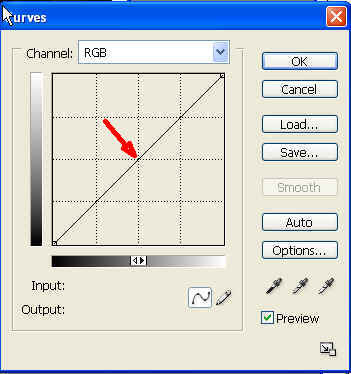
Step 6 : This dialogue box opens. Notice the diagonal line. (see the arrow).
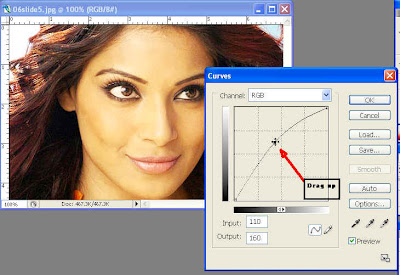
Step 7 " Now click on diagonal line in the middle aand drag up. Note the color in the image changes as you drag.
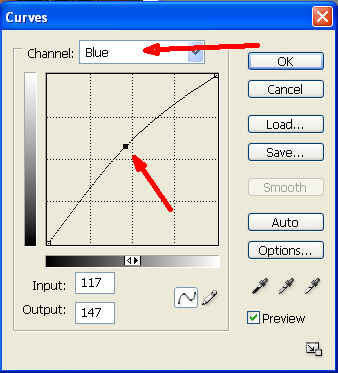
Step 8 : Now choose Blue from the drop down box. See the arrow on top. Now drag the diagonal up slightly.

Step 9 : This is how the image looks now. The yellowish tinge has gone away.
0 comments: